How to Clean a Ribbon Mixer Safely and Thoroughly
A ribbon mixer can deliver highly uniform batches for years, but only if residue is removed before it hardens, carries over, or compromises the next run. Knowing how to clean ribbon mixer equipment correctly protects product quality, supports compliance, and prevents a routine sanitation task from becoming an extended maintenance shutdown.
Cleaning requirements vary substantially by product. A food powder with allergen controls, a pharmaceutical active ingredient, a sticky cosmetic paste, and a dry polymer compound should not follow the same procedure. The right cleaning method depends on the material, the required changeover standard, the mixer configuration, and whether the process uses dry cleaning, wet cleaning, or clean-in-place capability.
Start With a Safe, Product-Specific Cleaning Plan
Cleaning must begin only after the batch has been fully discharged and the mixer has been isolated from all energy sources. Follow the plant’s lockout/tagout procedure for the drive motor, controls, pneumatic systems, heating or cooling jackets, and any connected vacuum equipment. A horizontal mixer can retain material under the ribbons, around the shaft seals, and at the discharge valve even after the main batch appears empty.
Allow hot product or equipment surfaces to cool before personnel enter the cleaning area. If entry into the trough is required, treat the mixer as a confined space when applicable and follow the site’s permit, ventilation, atmospheric testing, and attendant procedures. Never rely on an operator control switch as the sole means of isolation.
Before selecting cleaning agents or introducing water, review the material safety data for both the processed product and the cleaning chemical. Compatibility matters. Some aggressive cleaners can damage stainless steel finishes, elastomers, seal materials, coatings, or specialized internal surfaces. Excess water can also create downstream problems with hygroscopic powders, corrosion-prone components, or product clumping during the next production run.
How to Clean a Ribbon Mixer: A Practical Sequence
The most efficient cleaning sequence removes as much product as possible while it is still dry and accessible. This reduces wash water demand, shortens drying time, and limits the amount of material sent to waste treatment.
1. Empty the Mixer Completely
Run the mixer at the approved slow discharge speed, if the process and equipment design permit it, until material flow from the discharge valve stops. Open and inspect the discharge assembly, including the valve seat, gasket surfaces, and any dead-space areas. Product left at the outlet is a common source of carryover, particularly with fine powders and cohesive blends.
Use suitable tools that will not score the vessel interior or ribbons. Plastic or approved non-sparking scrapers are often preferable to metal tools. Do not strike the ribbons, shaft, or trough walls to dislodge buildup. Even small changes to ribbon geometry or clearance can affect mixing performance and increase wear.
2. Remove Dry Residue Before Wet Cleaning
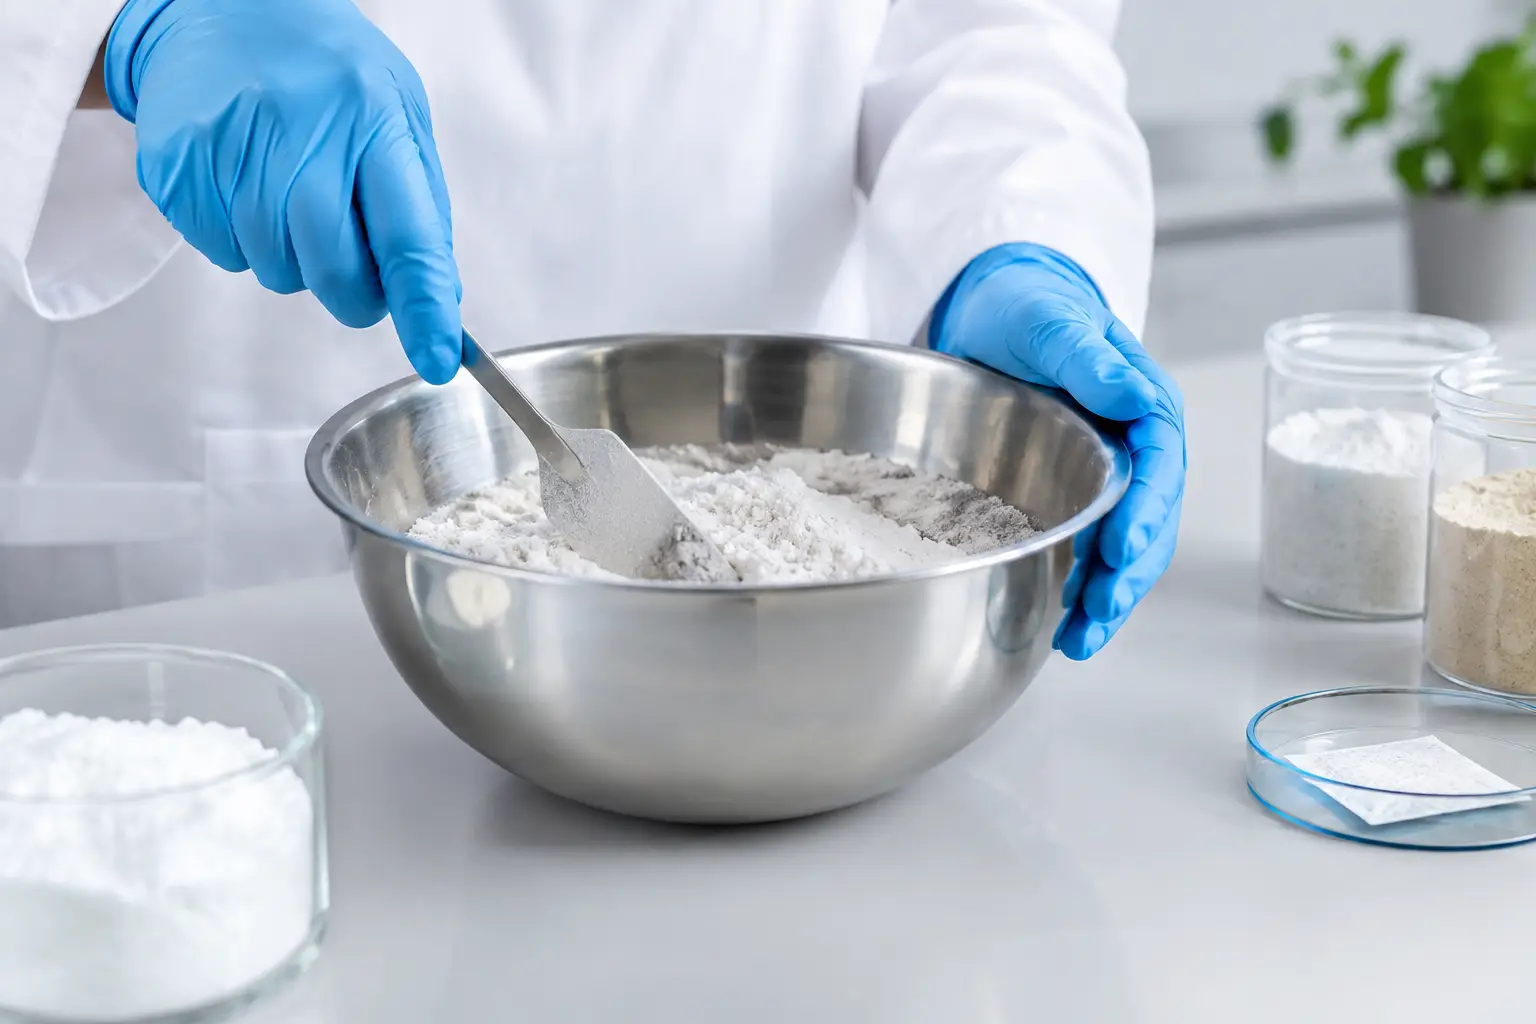
For many powder and granule applications, a dry clean is the preferred first stage. Vacuum loose material from the trough, ribbon flights, end plates, shaft area, lid, and discharge zone using an industrial vacuum rated for the material hazard classification. In combustible-dust environments, all vacuum equipment and cleaning methods must meet the facility’s dust-control and electrical safety requirements.
Avoid compressed-air blowdown unless it is specifically approved by the site safety program. Air can drive particles into seals, bearings, electrical enclosures, and surrounding work areas. It also creates avoidable exposure and dust-explosion risks.
A dry wipe with lint-free, product-compatible cloths can remove remaining fines. Inspect the ribbon surfaces from multiple angles. Material often bridges in the inside corners where ribbon supports meet the shaft or near the end-wall clearance zones.
3. Apply a Controlled Wet Wash When Required
Wet cleaning is appropriate when the product leaves a film, when allergen or active-ingredient controls require it, or when the validated sanitation procedure calls for washing. Use the minimum amount of water and cleaning solution needed to achieve the required cleanliness standard. Flooding a mixer may push liquid into areas that are difficult to dry, including seals, valve cavities, and jacket connections.
Apply the approved detergent at the specified concentration and contact time. For sticky materials, a pre-rinse may soften residue before detergent application. Use low- to moderate-pressure spray patterns unless the equipment has been engineered for high-pressure washing. Directing high-pressure water at shaft seals, instrument ports, gasket joints, or electrical components can shorten component life and introduce contamination pathways.
After washing, rinse until detergent residue is removed. In regulated operations, the rinse requirement should be defined by the validated cleaning protocol, whether that means conductivity, pH, visual inspection, swab testing, or another documented method.
4. Clean Components That Hold Hidden Residue
The main trough is only part of the job. Pay particular attention to the lid and lid gasket, spray devices, vent or dust-collection ports, loading inlets, discharge valve, shaft seals, and any choppers or intensifier assemblies. If the mixer includes a vacuum system, inspect filters, hoses, condensate points, and connections according to the operating procedure.
Disassemble only the components identified in the equipment manual and the site’s sanitation standard. Unnecessary disassembly consumes labor and can create reassembly errors. On the other hand, a product with high allergen, potency, or color-transfer risk may require removal of gaskets, valve parts, or other contact components to achieve an acceptable result. The correct balance depends on the validated risk level, not on speed alone.
5. Dry, Inspect, and Reassemble Correctly
Drying is not optional after wet cleaning. Standing moisture can support microbial growth in food or cosmetic production, cause product clumping, and contribute to corrosion. Use filtered air, approved wipes, or a documented drying cycle. Make sure the trough, ribbons, discharge valve, and all crevices are visibly dry before closing the mixer.
Inspect the interior under adequate lighting. Look for residue, streaking, trapped moisture, damaged gaskets, worn seals, loose fasteners, and unusual ribbon-to-trough contact marks. Reassemble parts in the correct orientation and tighten hardware to the manufacturer’s specified torque. A poorly seated gasket or incorrectly installed valve component can cause leakage, contamination, and unexpected downtime.
Verify Cleanliness Instead of Assuming It
Visual inspection is a necessary first check, but it is not always sufficient. Fine powders, active ingredients, flavorings, pigments, and allergens can remain at levels that are not visible to the eye. The verification method should reflect the product risk and the industry’s compliance expectations.
For lower-risk bulk materials, a documented visual inspection and line-clearance check may be appropriate. Food, pharmaceutical, and specialty chemical operations may require swab testing, rinse sampling, allergen testing, microbial checks, or analytical residue limits. Establish acceptance criteria before production begins, then record results consistently. A cleaning process that cannot be repeated and verified is difficult to defend during an audit or quality investigation.
Prevent Buildup Between Major Cleanings
The best cleaning program begins with mixer and process choices that reduce accumulation. Material behavior has a direct effect on sanitation time. High-fat blends, hygroscopic powders, very fine ingredients, and cohesive pastes naturally demand more attention than free-flowing granules.
Maintain predictable fill levels and batch times. Overfilling can push material into the lid area and create residue above the normal product zone. Running a mixer longer than necessary may compact certain formulations or create heat that makes residues harder to remove. Proper ribbon design, surface finish, discharge configuration, and optional choppers can also reduce retained material when matched to the application.
Seal inspections should be part of preventive maintenance, not a response to visible leakage. Worn seals can admit lubricant, release product, and create hard-to-clean areas around the shaft. Likewise, damaged discharge valves can trap material and prevent full emptying. Addressing these issues early preserves sanitation performance and avoids more expensive repairs.
When Dry Cleaning Is Better Than Washing
Wet washing is not automatically the most sanitary option. For dry products that are sensitive to moisture, a disciplined dry-cleaning process can be faster, more sustainable, and better for equipment availability. It eliminates drying delays and reduces the risk of residual moisture affecting the next batch.
Wet cleaning is usually necessary when residues adhere strongly, when product changeovers present allergen or cross-contact risk, or when regulations and internal quality procedures require a validated wash. Many facilities use a hybrid approach: dry removal after every batch or campaign, followed by a deeper wet clean at defined intervals or before high-risk changeovers.
A properly specified mixer supports this strategy. Access doors, sanitary finishes, efficient discharge design, and configurable cleaning features can materially reduce labor without compromising the result. PerMix works with process teams to match ribbon mixer configurations to product characteristics, cleaning expectations, and production targets.
Treat cleaning as part of the mixing process, not as work performed after it. A documented, product-appropriate procedure keeps batches consistent, protects equipment condition, and gives your team a more reliable path from one production run to the next.